Loading...

We emphasize on automated processes to help your organization save time and manpower. We provide you a one-stop platform to consolidate sales collection and digitalize your ticket issuance process with issuance of QR code.

We help your organization customize your registration form so your participants can register the form easily. We aim to help you create more interactive and insightful registration form.

Consolidated Sales Collection

Omnichannel marketing is indeed significant to reach the right audience. With our EK share link, your organization can post the link in any social media platform. With this single dashboard, your organization can consolidate all sales collection at one place.

We also understand the trouble of tracking show-up data and traffic analysis. With EK Scanner, your organization can view traffic analysis in a more granular way and understand the peak time for the movement of the participants. With these analysis and data, your organization can better manage the event planning and crowd.

Worry that printing name tags with the printer during event day will cause so much hassle and long queuing time for your participants? With EventKing software, you can customize and pre-print the name tags before the event. So, you can better prepare to serve your participants during the event day.

Automated Issuance of eTicket and Tax Invoice

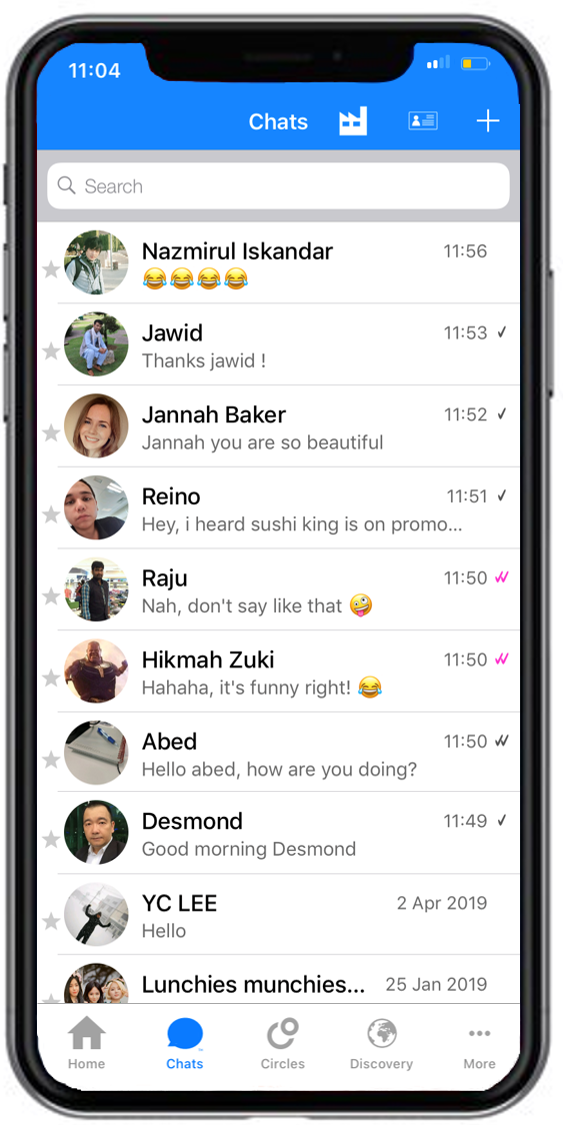
If the participants have purchased the ticket online and made payment successfully, automated issuance of eTicket and tax invoice will be sent to their email address. eTicket is also automatically pushed to FavorApp in their smartphone. We understand some participants prefer to do their transactions at the ticket counter. Thus, we provide you a platform to manually generate tickets for your event

Our Clients

GET ON BOARD

1. Organizer’s Experience

First time using EventKing? Lets’ get onboard!

Eventking provides a platform for event organizers to sell interested individuals to buy tickets with less hassle and more convenient. It is a free event posting at EventKing site.

Organization Experience:

  1. How to create an account in EventKing?
  2. How to create an event in EventKing?
  3. How to push my event to reach the public?
  4. How to read Response Analysis?
  5. E-Ticket and Tax Invoice

Add-On Features (Paid feature):

  1. EK Scanner App (Android only)
  2. Manual Ticket Sales
  3. Generate Name Tag
  4. Attendees List & Analysis

Answer :

You need to sign up for Organization Management System (OMS v2.0) with complementary basis plan for Favor Tech Member Management System via https://www.favortech.net


Answer :

Once you have an account, you can start creating an event in the platform.

Step 1 – Setup Content


Step 2 – Customise Registration Form (if you need to collect other information from participant)


Step 3 – Participating Organisation(PO) Settings (Optional)


Step 4 – Speaker Settings (Optional)


Step 5 – Agenda Settings (Optional)


Step 6 – Ticket Price Settings


Step 7 – Send Preview (Optional)


Example of Preview Ticket


Answer :

i. Click on Event/News Planning > Invitation.

ii. Select an event and Enable the Public Registration Link

iii. Click on “Save

Answer :

You need to go to Event/New Planning > Ticket Sales Information and Find your event.

Answer :

Upon tickets are sold, e-Ticket with QR code and Tax Invoice will be automatically sent to participant.

Example of e-Ticket :

For Illustration purpose

Example of Tax Invoice :

For Illustration purpose

2. Add-On Feature 

      There are 4 types of Add-On Features that you can subscribe to:

  1. EK Scanner App (Android only)
  2. Manual Ticket Sales
  3. Generate Name Tag
  4. Attendees List & Analysis

Answer :

You can assign scanner admin
You can choose online and offline scanning option

You can also upload offline scanned tickets that you have brought tickets from the counters

     EventKing Scanner App (Android)


You can view all scanned records in the FavorAPP.

Answer :

How to manually generate tickets for my event?

This option is used for the staff to fill in the ticket details bought by participants that preferred to do their transactions at the ticket counter.

 You need to go to Event Settings > After Sales Support > Offline Ticket Sales.

 Then, insert details such as event and purchaser details as well as payment details.  Click on Checkout button.

For Illustration purpose


 You will receive the ticket receipt successfully.

For Illustration purpose

Answer

 Under Event Settings, you can go to After Sales Support -> Ticket/Tag. You will need to fill in the details.

Then click on Print Tag to start generating the name tag.


Example of Name Tag :

For Illustration purpose

For Illustration purpose

For Illustration purpose

For Illustration purpose